The ProImage Data Bridge |

|

|
|
The ProImage Data Bridge |

|

|
|
|
||
If you are using at least ProImage 1.6 and ProScan 1.5 you can create a data bridge that allows ProImage to work with ProScan.
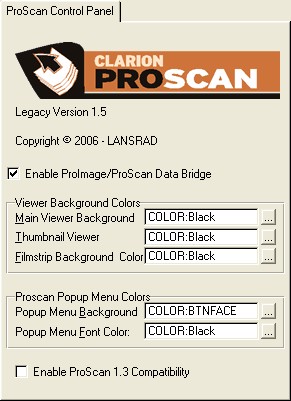
To enable this feature in ProScan check this box (below):
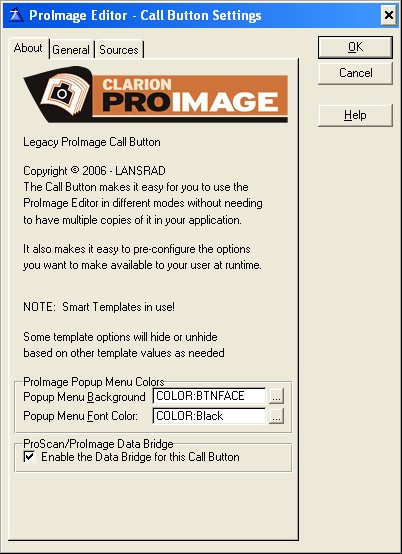
...and also the corresponding box on the ProImage Call Button Template
Next set your ProImage settings that control how ProImage works with ProScan:
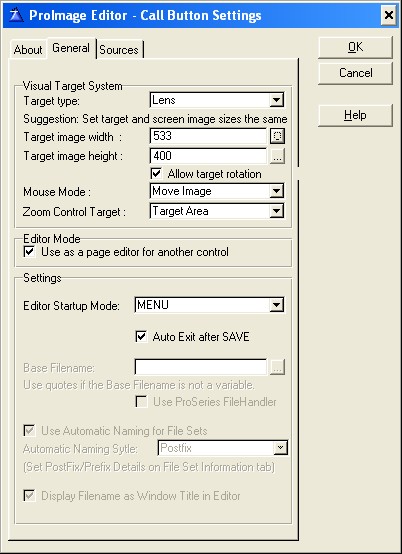
Note: The target size you set here is what will be used as the MAXIMUM size of images that originate in ProImage.
However when you send a image from ProScan into ProImage for editing - then the actual size of that image will be used for the target size.
This prevents ProImage from re sizing an image (such as downsizing a full page scan to a photo size) when it is loaded for editing.
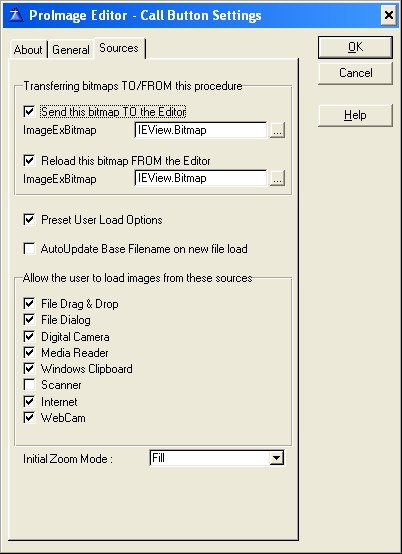
You need to specify the name of the viewer bitmap in ProScan as the FROM and TO sources.
Note: if you use the ProScan/ProImage TXA to jumpstart your application then all this is preset for you.
Hint: Disable the Scanner Source in ProImage when using it with ProScan
Initial Zoom Mode
If you set the initial zoom mode to fill - the entire page will be displayed when it is loaded into ProImage.
How ProImage interacts with ProScan.
With the data bridge enabled and a ProImage call button added to the ProScan toolbar, you will be able to send the current page from ProScan into ProImage for editing. You will also be able to insert photos processed by ProImage into the ProScan TIFF file.
When you click the ProImage call button in ProScan (with the data bridge enabled) you will be presented with a menu. From this menu you can select to Edit the current page, or insert a new image before or after the current page - or as the first or last page of the ProScan TIFF.
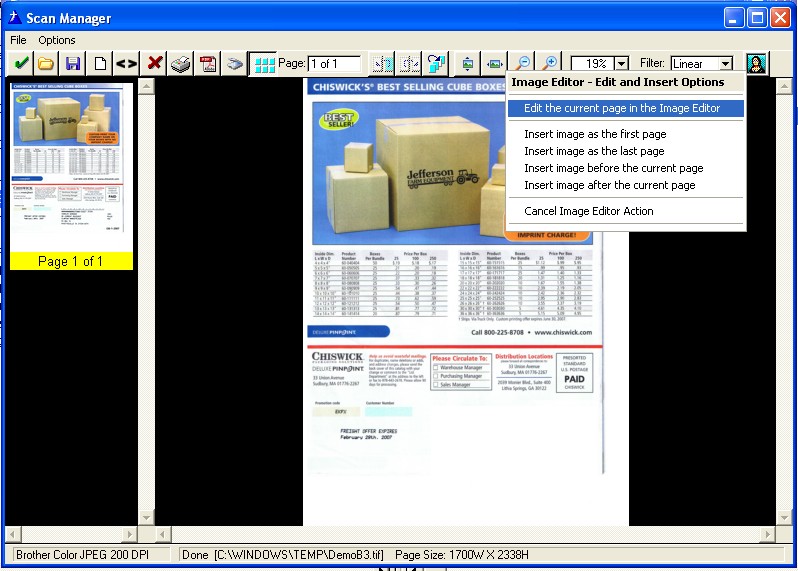
See the next sections for details on editing pages or inserting new ones.