Editing pages from ProScan |

|

|
|
Editing pages from ProScan |
|
|
Editing pages from ProScan |
|
|
|
Editing pages from ProScan |
|
|
|
|
||
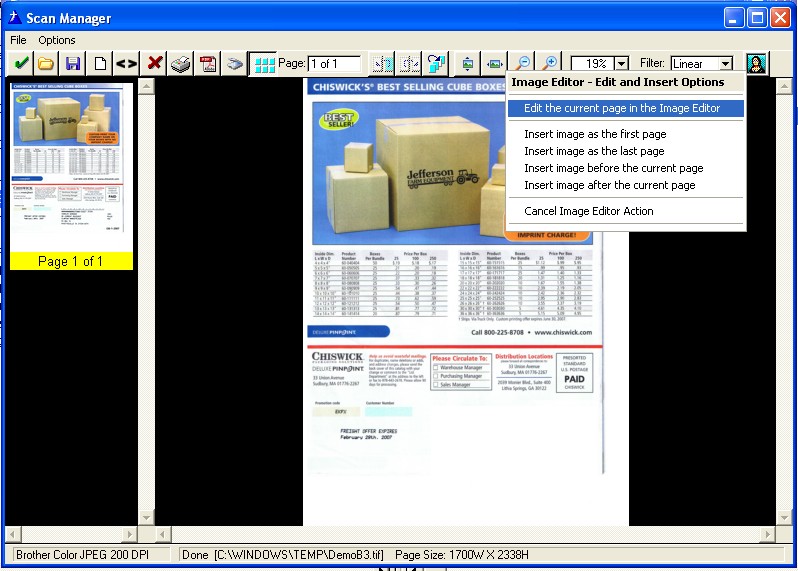
Editing Existing Pages from ProScan
When you click the ProImage Call Button in ProScan ![]()
you will be presented with a menu.
Note: the data bridge must be enabled in both ProImage and ProScan for this to work.
From this menu you can select to Edit the current page. This will send the page into ProImage.
Note: When you send a page into ProImage from ProScan, then the target size for ProImage is automatically set to the same size as the image you are sending into it.
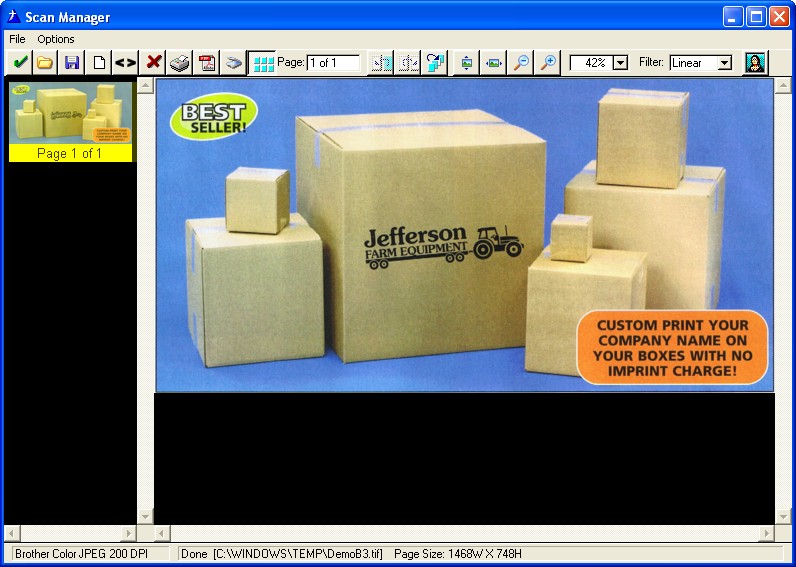
In the screen shot below - you can see that ProScan reports the page size as 1700 x 2338.
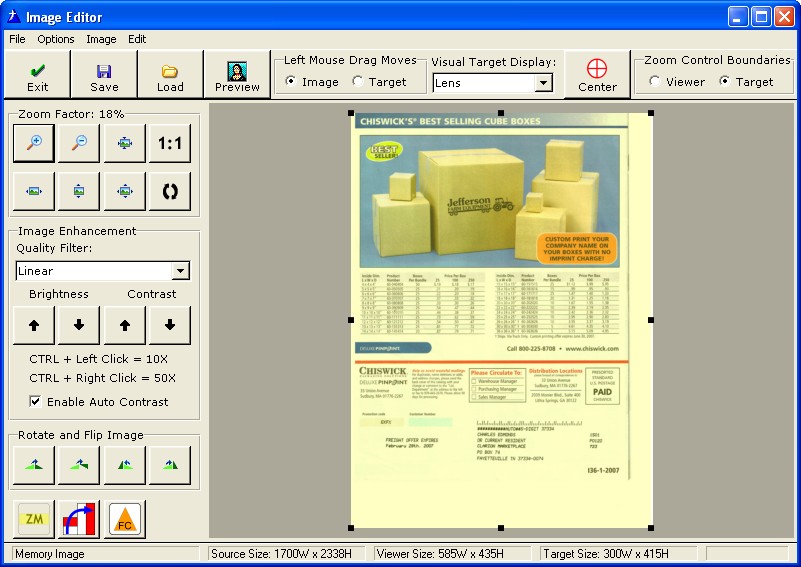
When the page comes into ProImage it looks like this (see below). You will note that the Source Size is the same and that the entire page is enclosed in the target.
Note: You can choose to have the Wireframe or the lens enabled by default (or None if you prefer). You can also preset the "Mouse moves target" mode if you want.
.
You can click the Target option box to enable you to resize the target.
You can also turn on the Wireframe indicator if you prefer:
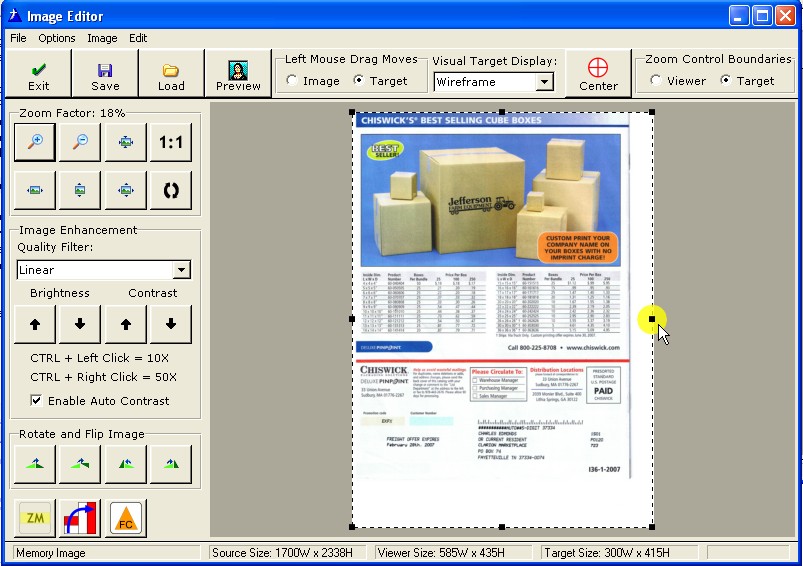
As you move the mouse near any of the grab handles, a yellow circle appears. You can click anywhere in the yellow circle and it is the same as clicking on its center. The grab handle will turn red to indicate you have it - then you can hold down the mouse and drag to resize the target in the direction allowed.
The corners can move in any direction, the top and sides only horizontally or vertically.
Note: Mouse movement speed can affect the selection when dragging to the edge of the viewer
When you are tying to drag the mouse out to the edge of the viewer or into a corner, if you move slower then you can snug tightly to the outer boundaries. If you move too fast when you go out of boundary, then the resize will stop just off edge. This is normally not a problem and is just the way ImageEx works with this control.
Hint: To select the entire image - just use CTRL+A.
If you resize the target - then you are changing what portion of the image will be returned to ProScan.
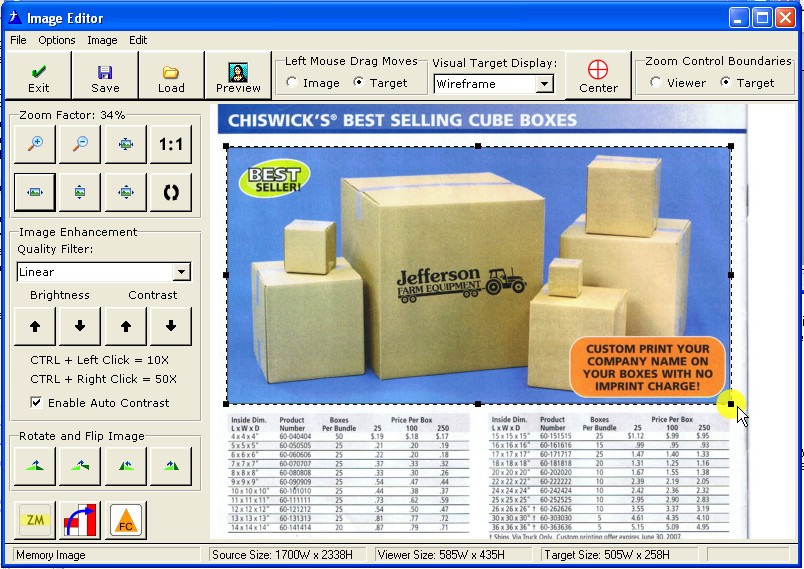
Hint: You can turn off the target - then use the Zoom controls to show more of the image. You can also work in full screen mode (we are using compact mode here to save space). Then turn the target back on to make your selection or use the Free Crop icon (bottom left).
Once you have made your selection, click SAVE and your selection will be returned to ProScan.
It is important to note that while in the editor, you are working on a Virtual representation of the full sized image from ProScan. When you click save the "real" portion of the source image will be returned to ProScan.
If you crop the image in ProImage (by adjusting the size of the target with the grab handles or by using the Freehand Crop, then ONLY the cropped portion will be returned to ProScan and the page size in ProScan will be adjusted to the new dimensions.