Inserting New Pages into ProScan |

|

|
|
Inserting New Pages into ProScan |
|
|
Inserting New Pages into ProScan |
|
|
|
Inserting New Pages into ProScan |
|
|
|
|
||
When you click the ProImage Call Button in ProScan ![]()
you will be presented with a menu.
Note: the data bridge must be enabled in both ProImage and ProScan for this to work.
From this menu you can select to insert a new image before or after the current page - or as the first or last page of the ProScan TIFF.
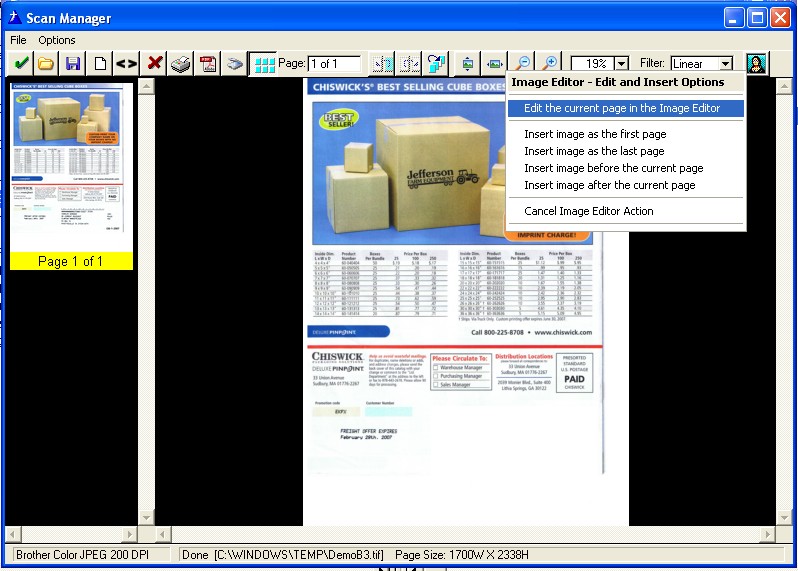
After you make your selection, you will see the Image Editor.
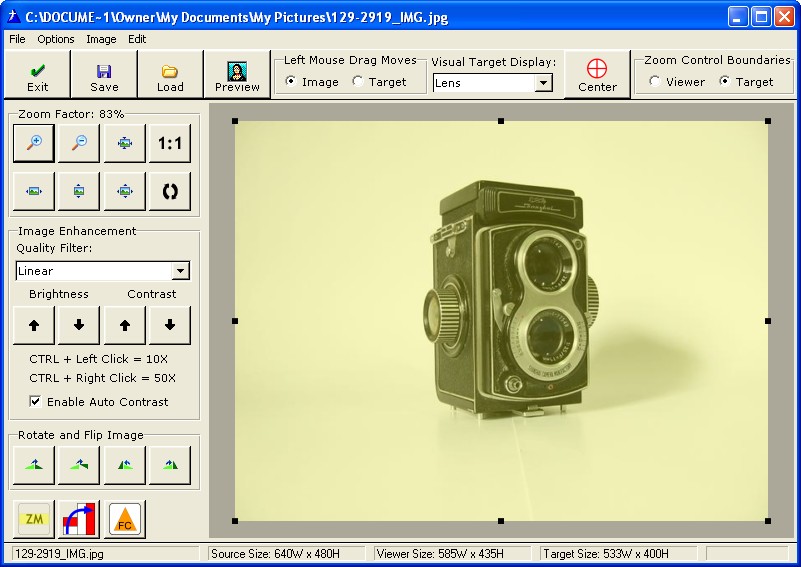
Note: the Visual Target will default to the size and settings that you give it on the control template (or you can set this with hand code in the button embed before the editor is called if you prefer). Also the rules you set for allowing the target shape to be rotated (and other settings) will be followed.
IMPORTANT:
The size that you select for the Visual Target will be the size of new images returned to ProScan (unless the user resizes the target smaller than that or uses the Freehand Crop to select a smaller area).
The ProScan Data Bridge is really a specialized version of using ProImage as a page editor for another control. The difference is that when you are editing a page from ProScan - then the size of that page becomes the default target size.
When you load a new image into ProImage the normal target handling will be used.
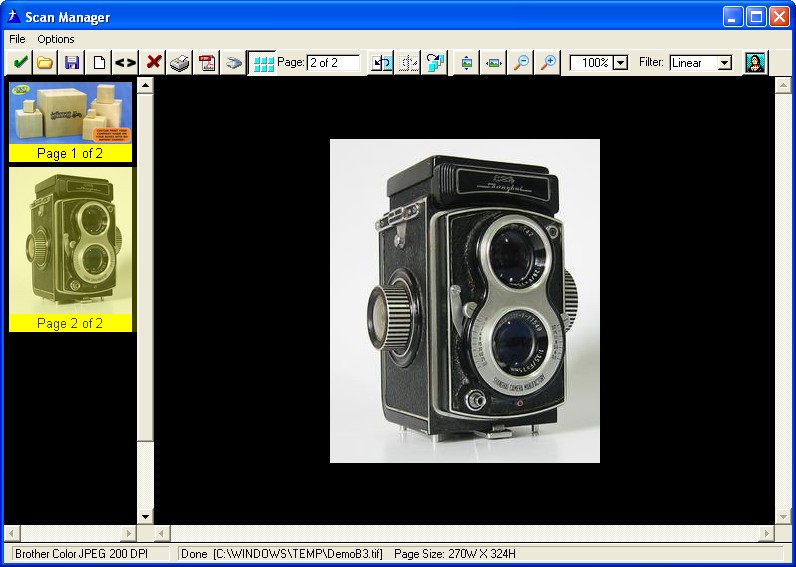
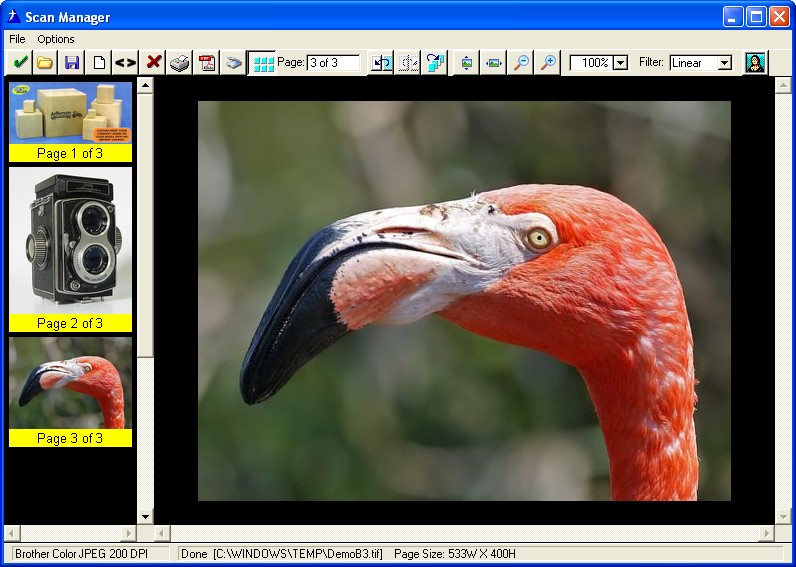
Note that our target size here (bottom right) was defaulted at 533x400.
If the user resizes the visual target then ONLY the portion of the image in the target will be returned to ProScan.
Note that the user selected area has resulted in the target size (bottom right) being 225x270.
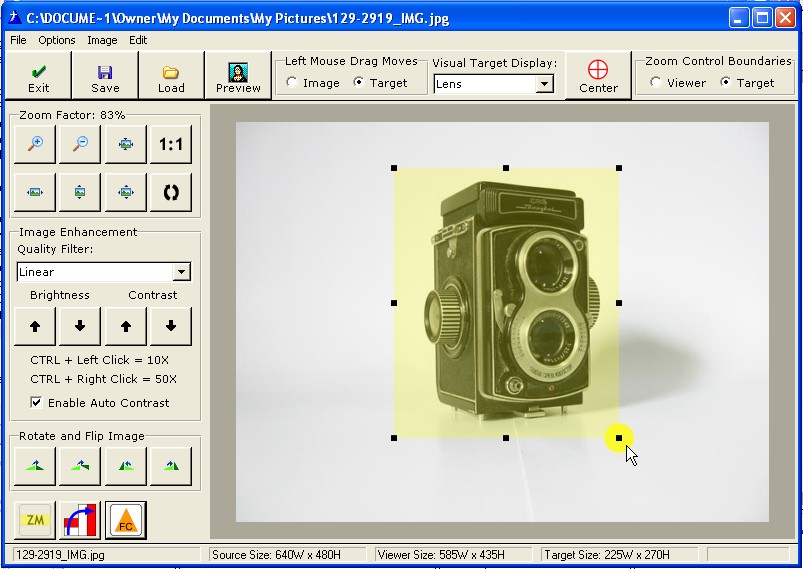
The size of the image returned will not exceed the size of the target that you had set when ProImage was called, but if the user crops an area smaller than the default target size - then that will be the portion of the image that is returned.
Note that the size returned to ProScan was 270x324.
This is larger than the 225x270 selected area (the "visible" portion in ProImage) but it is still smaller than the default target size that we had set to 533x400.
Why is that?
Remember that the TrueView Image Protection will not allow the image to be distorted.
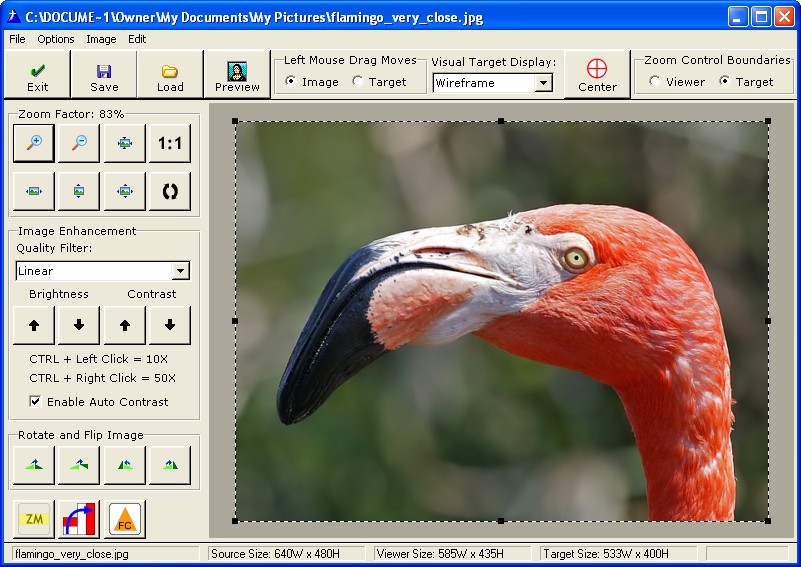
If you refer to the first screen shot where the image was loaded, we see that the original size was 640x480.
The user selected an area 225x270 "from the Visual Representation of that image".
The 270x324 is the exact portion of the source image that was selected from the original - but it retained more detail because instead of cropping the image from the on screen representation of the original image, the image returned to ProScan was taken from the original source image.
This ability to create final output from the selected area of the source image is one of the most powerful features of ProImage!
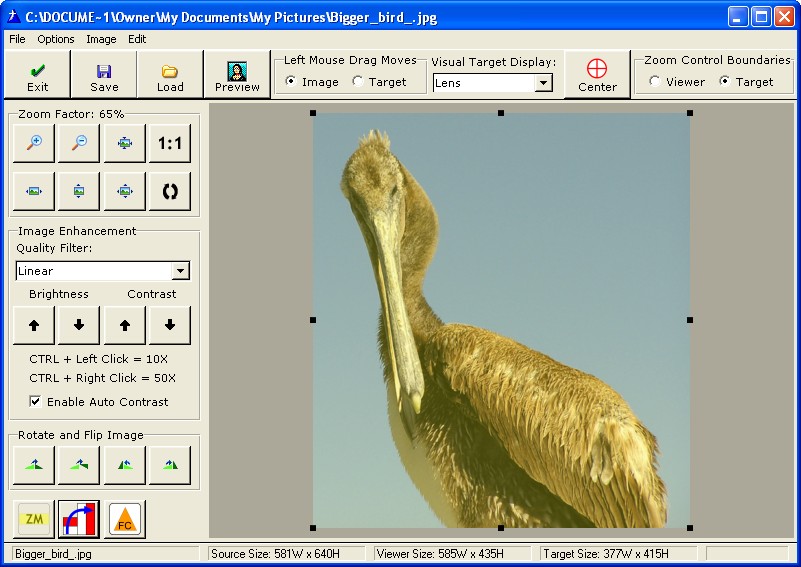
If the user loads an image in ProImage and does not crop it:
Then the size set by the target will be what is returned to ProScan:
The user can rotate the target in ProImage to accommodate portrait photos.
Note: we used CTRL+A to select all of this photo - so now we actually have a selection that is larger than the rotated 400x533 target size)
When we click save to return to Proscan (note that we used the option to insert the image BEFORE the current page) we see:

The image returned from ProImage (with the TrueView Image Protection) was resampled down to 363x400.
This is within the size allowed by our rotated 400x533 target, but the image has no distortion because it was resampled with its original aspect ratio.
ProImage prevents your users from being able to make mistakes!
Of course being able to mix and match document scanning and photo processing in the same TIFF in ProScan is great!