Designing Your Own Path Select Window |

|

|
|
Designing Your Own Path Select Window |

|

|
|
|
||
If you don't want to use the Universal procedure, you can design your own and still use ProPath #CODE templates to make it work correctly with the ProPathFolderClass objects.
Hint: if you try this and have problems with it, simply import the Universal procedure and look at how it is built. While it has some conditional code that allows it to fit all the Modes, you can simplify it if your only using one Mode.
There are three things you will need to use your own procedure:
•Local variables that represent the path for the MAIN and SYSTEM objects
Note: even if your not using both of the paths, your procedure needs to have local variables for both objects. This allows the #CODE templates to function correctly
•Ok and Cancel Buttons
•A button to allow the user to browse for an alternate path
Once you have these items, it is easy to make everything work.
First design your window and add your entry fields and regular buttons (not Control Template buttons) with the proper labels.
Next add the ProPath Procedure Extension Template:
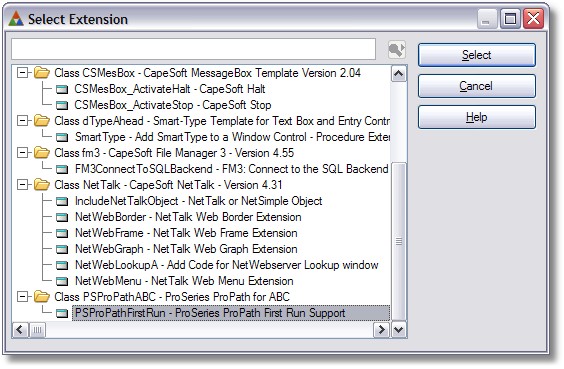
When the extension is added you will see this screen:

Click the lookup buttons and map the ProPath template variables to your local display variables for BOTH paths (even if your only using one) as shown here:
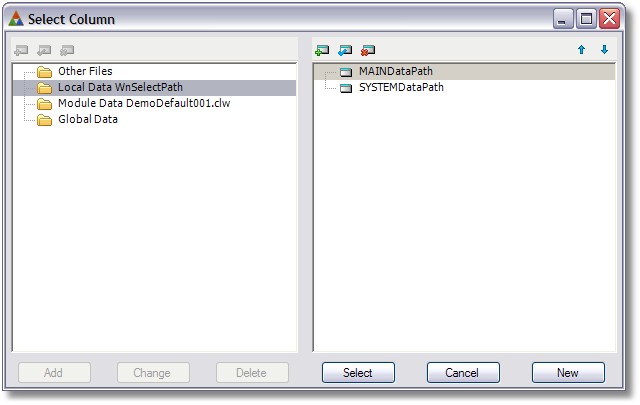
(more on configuring the procedure extension template here)
Next go back into the Window Designer and you will have access to the #CODE templates that depend on this #PROCDURE extension.
In event accepted embed of the buttons add the proper #CODE template as shown below:
The Cancel Button

In the event accepted embed of your Cancel button, click Insert and type ProPath. Then highlight the PSProPathFirstCANCEL template and click Select,
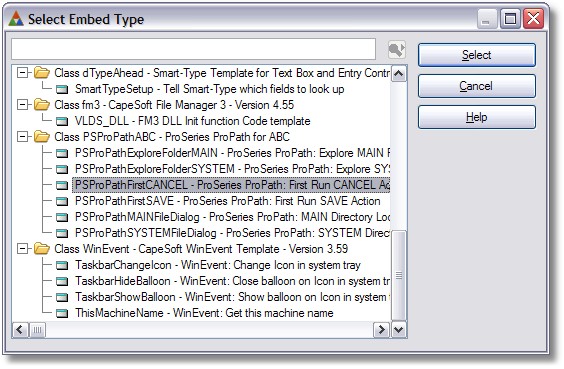
You should see this screen:
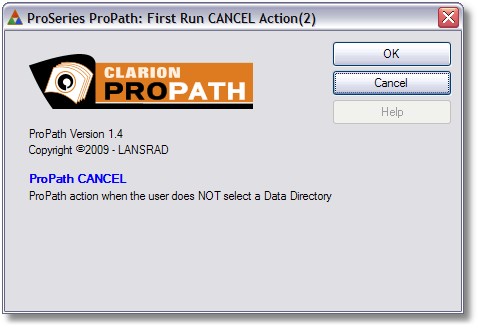
This #CODE template will control what happens when the user does NOT select a data directory and send the correct information back to the ProPathFolderClass object. It will also close the window.
The Ok Button

In the event accepted embed of your Ok button, click Insert and type ProPath. Then highlight the PSProPathFirstSAVE template and click Select,
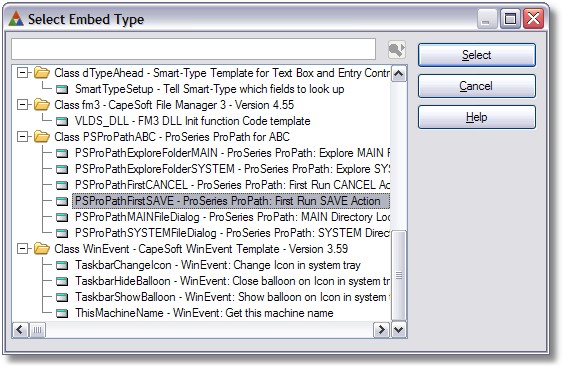
You should see this screen:

Click the lookup buttons and map the ProPath template variables to your local display variables for BOTH paths (even if your only using one) as shown here:

This #CODE template will control what happens when the user has selected one or more data directories and send the correct information back to the ProPathFolderClass object. It will also close the window.
The Directory Lookup Button

In the event accepted embed of your Folder Selection button, click Insert and type ProPath. Then highlight the PSProPathMAINFileDialog (or the PSProPathSYSTEMFileDialog )template and click Select,

You should see this screen (MAIN Directory Lookup shown here) :
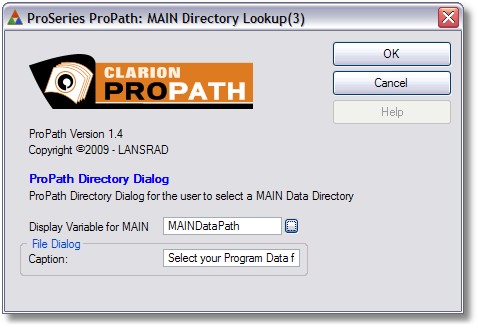
Click the lookup button and map the ProPath template variables to your local display variables for the path (MAIN Directory used in this example) as shown here:

You can also set the Caption for the file dialog as shown here:

The default values are:
MAIN Select your Program Data folder
SYSTEM Select your Program Settings folder
The #CODE templates will generate a folder dialog, automatically take care of issues like NOT clearing the suggested CSIDL value if the user cancels. It will also map the selected folder (as LONGPATH) back into the display variable.