Using the Insert FAX Feature |

|

|
|
Using the Insert FAX Feature |
|
|
Using the Insert FAX Feature |
|
|
|
Using the Insert FAX Feature |
|
|
|
|
||
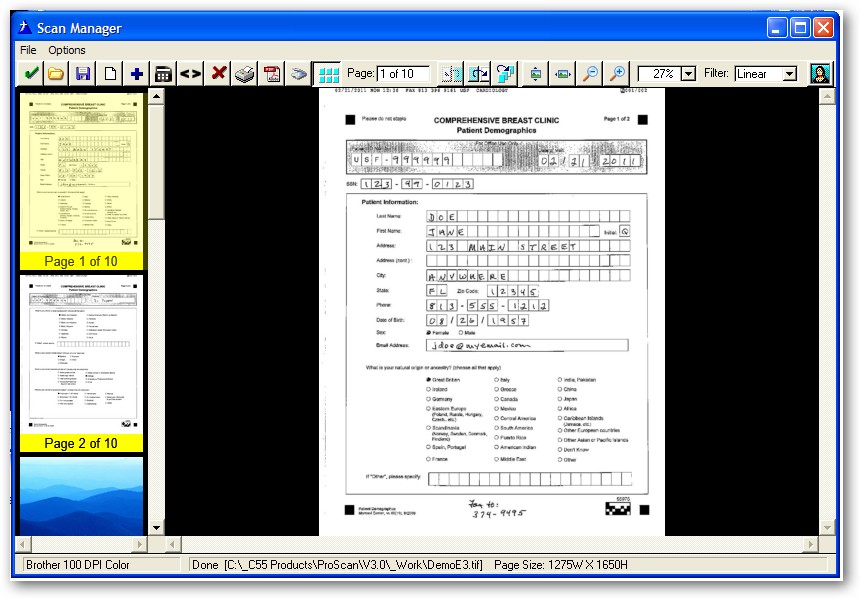
To activate the Insert FAX Feature, click this button on the Scan Manager toolbar:

Then the following menu will appear:
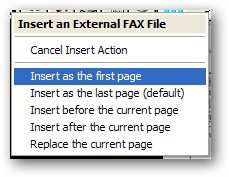
Your options for how the External FAX get inserted into the one in the Scan Manager are as follows:
As the first page - the page(s) of the new FAX get inserted at the front of the TIFF file in the Scan Manager
As the last page - the page(s) of the new FAX get inserted at the end of the TIFF file in the Scan Manager
Before the current page - the page(s) of the new FAX get inserted before the current page of the TIFF displayed in the Scan Manager.**
After the current page - the page(s) of the new FAX get inserted after the current page of the TIFF displayed in the Scan Manager **
Replace the current page - the page(s) of the new FAX replace the current page of the TIFF displayed in the Scan Manager **
** In the case of a multipage FAX being inserted, the first page is inserted according to the menu selection, then the other pages are inserted in the order that they were in the external TIFF file
After the menu selection is made, the internal FAX viewer opens:
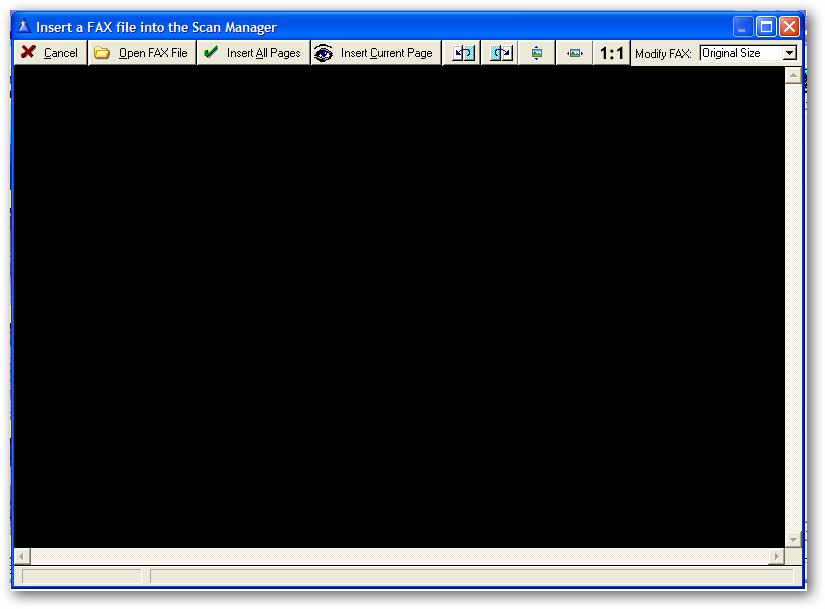
The options available on the FAX viewer toolbar are:
Cancel - return to the editor with no image.
Open FAX File - load a FAX File from disk with the standard ImageEx picture dialog.
Insert All Pages - sends the ALL of the pages of the FAX viewer back to the editor.
Insert Current Page - sends the current page displayed in the FAX viewer back to the editor.
Previous - moves backwards one page in the FAX file.
Next - moves forward one page in the FAX file.
Zoom to Height - resizes the page of the FAX file to the height of the viewer.
Zoom to Width - resizes the page of the FAX file to the width of the viewer.
Zoom 1:1 - display the page of the FAX file at its original size.
Modify Fax - this drop down displays these three options:
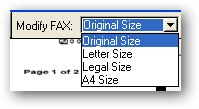
Original Size - does not modify the fax. This option is the default and use used when no repair is needed.
Letter Size - modifies the fax by redrawing it at the correct size for a Letter sized page.
Legal Size - modifies the fax by redrawing it at the correct size for a Legal sized page.
A4 Size - modifies the fax by redrawing it at the correct size for an A4 sized page.
NOTE - A sample fax that needs repair to Letter size is included with the demo apps. It is called "DemoFax.tif"
When a FAX File is loaded, it is displayed in the viewer:
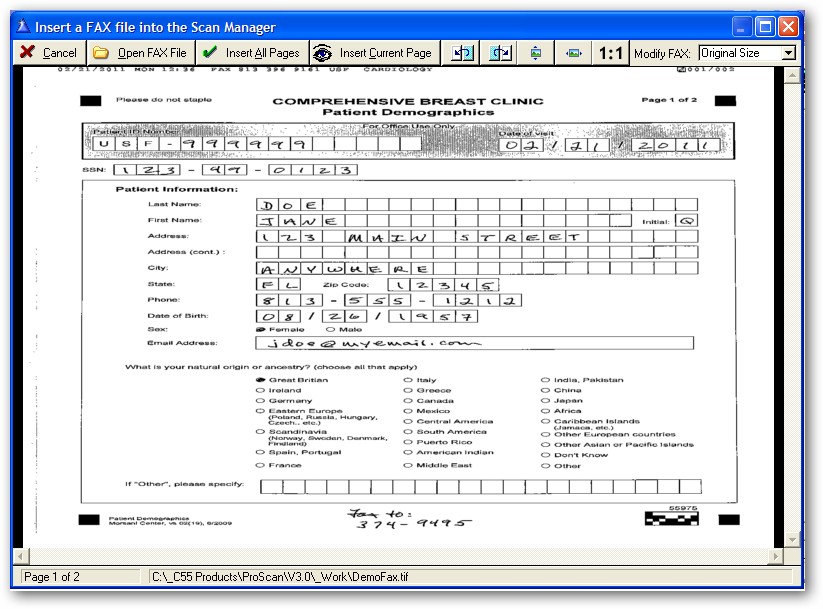
You can see that even though this fax originated from a Letter sized document, it appears "squashed" downward.
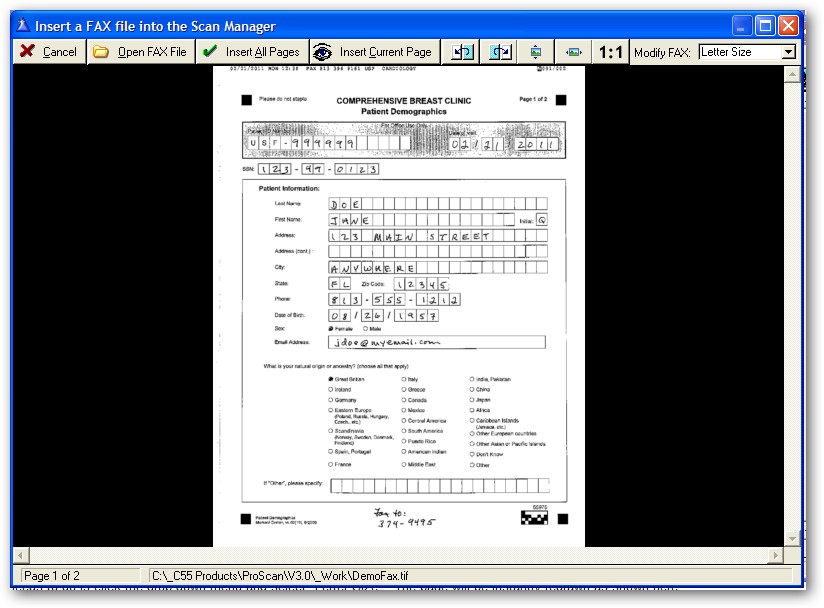
To repair the fax, all the user needs to do is click the drop down menu and select "Letter Size". The page will be instantly redrawn as shown here:
Note 1: If you use the buttons or keyboard to page through the fax after selecting a repair option, the subsequent pages will be shown in the same mode.
Note 2: If you select the wrong size, it is no problem - just select a different one to change again. Only the copy of the page in the viewer is affected during this stage.
When you click the Insert All Pages or Insert Current Page button, the selected page(s) of the FAX TIFF are returned to the Scan Manager.
If you have selected a repair option, then that modification is done to the image as it is placed in the Scan Manager.
When the FAX page(s) are returned to the Scan Manager, they are automatically inserted into the correct position and the thumbnail navigation is automatically updated: